Drive A Tuk Tuk Controls
PC, mobile, and console input basics — plus confirmed stunt systems and Autopilot.
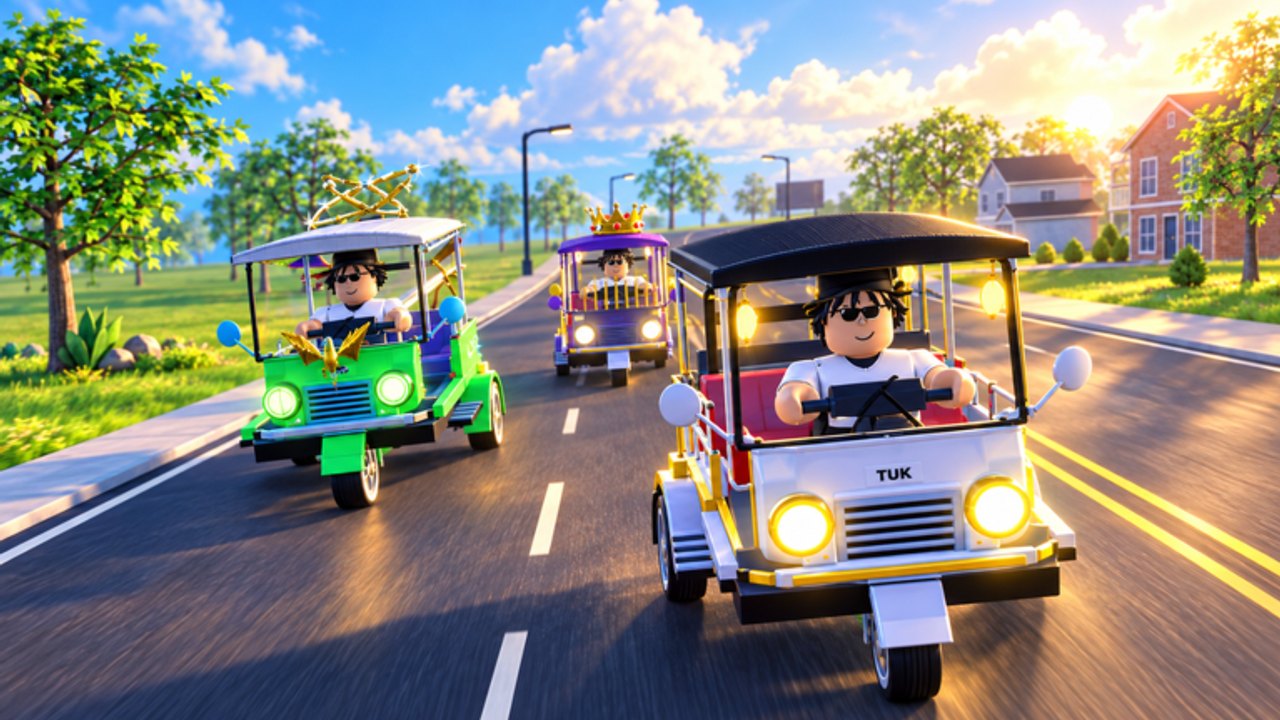
Clean inputs turn into cash in Drive A Tuk Tuk. Before you chase upgrades or records, you need reliable throttle, steering, and braking habits on your device. This page documents the typical Roblox driving layout, what Lumora has confirmed about stunts and Autopilot, and where you must still verify the live HUD. Deeper road craft lives on the Controls Overview hub.
Lumora Inc. can move prompts between patches. If the HUD disagrees with this guide, trust the HUD.
Quick device summary
| Device | Movement | Extra actions |
|---|---|---|
| PC | W A S D or arrow keys for drive/steer | Follow on-screen prompts for brake, horn, camera, interact, stunts |
| Mobile | Virtual joystick / on-screen drive buttons | Tap labeled HUD buttons for brake, horn, camera, stunts if shown |
| Console | Roblox gamepad drive mapping | Use the button hints Roblox overlays after you seat the tuk-tuk |
We do not invent exact key codes for horn, lights, nitro, drift, or wheelie beyond what official text confirms. Many Roblox vehicle games use Space, Left Shift, F, E, or L for jump/exit, brake boost, interact, or lights — but copying a neighbor game’s sheet causes bad muscle memory. Seat the vehicle, stop in a safe lot, and read every prompt once.
PC driving basics
- Seat your tuk-tuk and wait for the chassis controls to attach.
- Use W to accelerate, S to slow/reverse (confirm reverse behavior in your build), A/D to steer.
- Practice feathering W instead of holding full throttle through every corner.
- Look for a dedicated brake binding or brake prompt; if none is labeled, easing off W and counter-steering may be your primary slowdown until you find the real control.
- Rebind only inside Roblox/settings menus if the game exposes customization — do not assume a community script remapper is required.
Camera tips for PC:
- Zoom out enough to see curb edges and nearby traffic.
- Avoid first-person for your first cash circuits unless you already have strong map memory.
- If a camera toggle prompt appears (some experiences use C or similar), test it in an empty area.
Mobile notes
Mobile players succeed by reducing clutter:
- Enable a comfortable joystick size in Roblox settings if available.
- Keep thumbs from covering critical HUD quest or cash readouts.
- Brake earlier than you would on PC; touch latency and smaller screens punish late turns.
- Play on stable Wi-Fi when learning; input delay feels like bad handling.
If on-screen buttons overlap after a Roblox UI scale change, lower interface scale or try landscape orientation before blaming the tuk-tuk’s upgrade levels.
Console notes
On consoles supported through Roblox, follow the in-game gamepad glyphs. Trigger for throttle and bumper/face-button brake patterns are common in Roblox driving experiences, but again — confirm locally. Disable hardcore sensitivity experiments until you finish the Getting Started checklist.
Braking, horn, lights
- Brake: Essential for cash efficiency and passenger drop-offs. Find the labeled control before you enter dense traffic.
- Horn: Usually cosmetic/communication (Party Horn is a shop flair item); do not expect payout changes.
- Lights: Helpful at night if your build exposes a toggle; discover the bind via prompts rather than guessing.
Nitro, drift, wheelie — officially part of the fantasy
These systems are confirmed through official gamepass and badge language — not just script menus:
- Air Fare pass text calls out familiar steering, drifting, wheelies and nitro.
- Badges track Hang Time (airborne ≥3s then land), Drift Star (valid drift ≥5s), and Wheelie Wizard (valid wheelie ≥5s).
- Spirit Kitsune reacts to drifts, jumps, and crashes.
What remains HUD-dependent is the exact key or button that starts nitro, drift, or wheelie on your device. Verify those prompts in a safe lot, then practice with the drills on the Stunts guide. Do not memorize binds copied from unrelated Roblox driving games.
Autopilot (official)
The Autopilot gamepass lists activation as AUTO or T. That is the one extra driving bind we can cite from official pass text. Autopilot is a paid assist for hands-light cruising — separate from stunt inputs and separate from third-party executor auto-drive. Full pricing and shop context: Gamepasses. Executor alternatives remain an account risk on Scripts.
Practice drills (10 minutes)
- Straight brake test — Reach a medium speed on an empty stretch, brake to a complete stop, note distance.
- 90° corner — Approach at low speed, turn once, exit without opposite-curb hits.
- S-curve — Link two gentle turns while modulating throttle.
- Traffic gap — Pass one slow vehicle only when the opposite lane is clear.
- Night lap — Repeat a known daylight route after dark to feel visibility loss.
- Optional stunt sample — One short drift or wheelie attempt after you find the HUD control; save serious badge hunting for Stunts.
Log which drill fails. That failure tells you whether to buy handling, brakes, or simply slow down — covered in Upgrades and Earn Cash Fast.
Controls mistakes that drain cash
- Holding full W into unseen alleys.
- Steering with huge alternating A/D taps instead of smooth inputs.
- Ignoring camera position until after the crash.
- Memorizing binds from a different Roblox driving game.
- Attempting record speed runs before you can emergency brake.
- Triggering nitro in crowded passenger pickups or race checkpoints you have not learned yet.
Where to go next
- Controls Overview — deeper traffic, weather, and record-driving habits.
- Stunts — badge practice for hang time, drift, and wheelie.
- Passengers — approach and brake discipline for First Fare.
- Races — checkpoint racing uses the same clean inputs.
- Earn Cash Fast — turn clean inputs into money.
- Guides Hub — full walkthrough index.
Master the movement keys you know, verify stunt prompts in the HUD, use Autopilot only if you bought it, and let upgrades amplify good habits instead of covering reckless ones.
Frequently Asked Questions
Quick answers to the most common Drive A Tuk Tuk questions.
What are the PC controls for Drive A Tuk Tuk?
Expect WASD or arrow keys for driving and steering. Check in-game prompts for brake, horn, camera, interact, nitro, drift, and wheelie binds because extra keys can change between updates.
Are nitro, drift, and wheelie real?
Yes. Official Air Fare text and stunt badges confirm those systems. Exact activation keys still come from your live HUD — this guide does not invent them.
How do I turn on Autopilot?
If you own the Autopilot gamepass, official text lists AUTO or T. See the Gamepasses guide for price and scope; it is not a third-party script.
How do I get better at not crashing?
Practice the brake and corner drills above, then invest in handling and brakes. Smooth throttle matters more than raw top speed early on.
Is there a deeper driving guide?
Yes. The Controls Overview hub expands on traffic awareness, weather, day/night driving, and record attempts. Stunts and Races cover badge-specific practice.